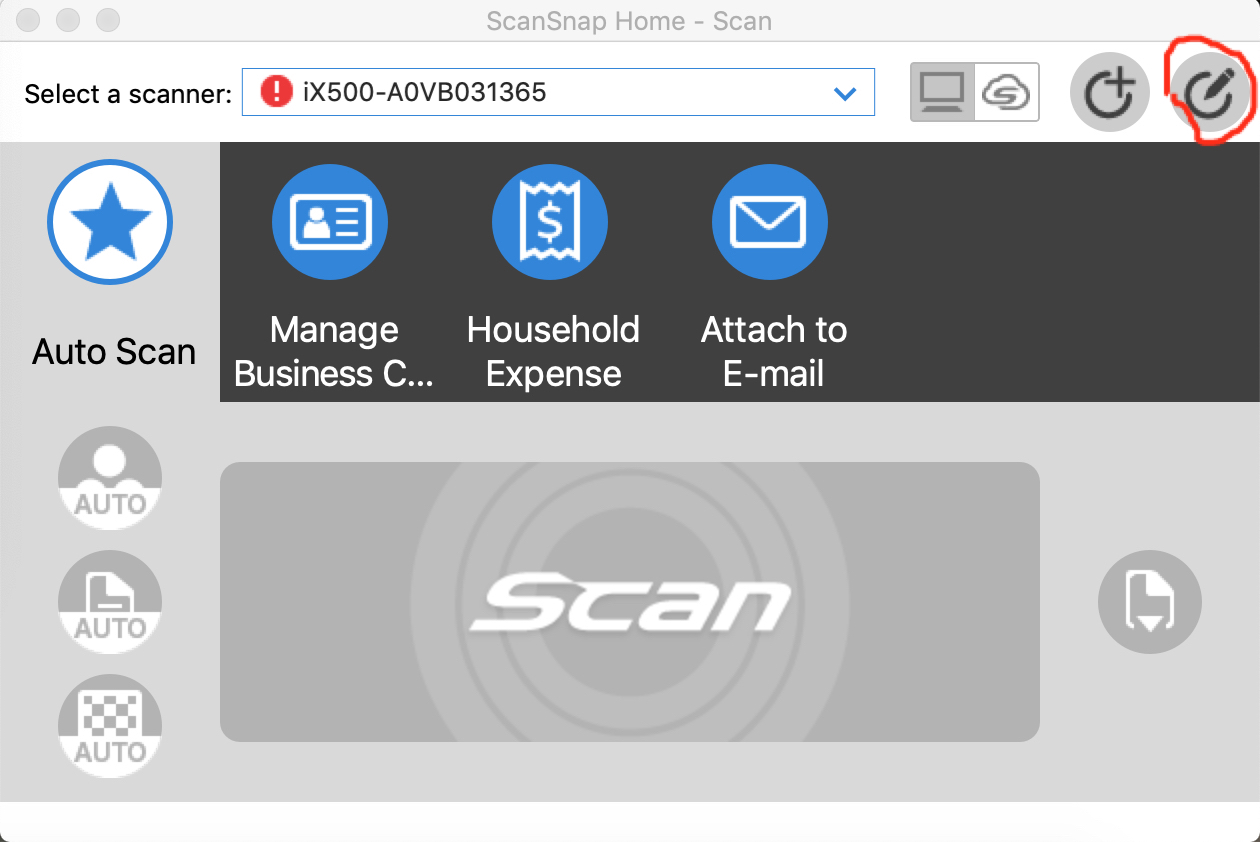
Quick Scansnap Home Lesson. From the Scan window press the button outlined:

From here you can adjust everything for the profile. The button (above) with the + sign in the circle lets you create new profiles. Anyway:

The top row selects the profile to edit. Document type detection either lets it guess or you can specify a specific type (document, business card, receipt, or photo). If it is automatic the scan settings will have tabs for all four types, otherwise there will be settings only for the selected type.
You can make basic changes to the settings here, or press Detailed settings:

from here you can set how the title is set, select the file format (including enabling OCR – “Convert to Searchable PDF”) adjust all the scanning features and the file size. Basically everything you could do with ScanSnap manager.
Back on the previous window, under the Scan settings, you can select a tag to add (I guess for the ScanSnap Home file manager), Feed settings (feed the entire document at a time or wait for more pages), the destination folder and “Application”. They provide three choices, “None” where the scanning gives no feedback, “Verify and save” which puts up a window just like ScanSnap Manager did showing the document and letting you select a different destination and name, “Scan to E-Mail”, and the ability to add any application that can accept a document (ScanSnap Manager did the same).
In my case, a few changes to the “Auto Scan” did everything I needed and now I don’t have to worry that I have selected the right scan type (in my case Receipt or Document) prior to hitting the scan button.